Naturally Sweet Caramelized Onions: Simple Ingredients, Big Impact
Imagine transforming humble onions into a glistening, golden-brown delicacy, bursting with a profound, natural sweetness that can elevate almost any dish. This isn't a complex culinary feat reserved for Michelin-star chefs; it's the simple magic of easy caramelized onions. Often hailed as a secret weapon by home cooks and professionals alike, these slow-cooked beauties are a testament to how patience and a few basic ingredients can yield an incredibly rich and versatile flavor enhancer. Forget the notion that caramelizing onions is daunting; we're here to guide you through the effortless process, ensuring perfectly sweet, jammy results every time.
Why You'll Fall in Love with Easy Caramelized Onions
In the vast world of flavor boosters, caramelized onions stand out for their pure simplicity and profound impact. They possess an almost alchemical ability to infuse dishes with a complex savory-sweet depth that's hard to replicate with any other single ingredient. Here's why they're destined to become a staple in your kitchen:
- A Natural Sweetness Unlocked: The most remarkable aspect of caramelized onions is their inherent sweetness. As onions cook low and slow, their natural sugars undergo a transformation known as the Maillard reaction, creating hundreds of new flavor compounds and turning them wonderfully sweet without a single grain of added sugar. This makes them a healthier, more nuanced sweetener for your dishes.
- Effortlessly Simple Ingredients: You don't need a pantry full of exotic spices to create this culinary marvel. All it takes are onions, a touch of fat, and a pinch of salt. That’s truly it! This minimalist approach proves that extraordinary flavor doesn't require an extensive shopping list.
- An Instant Flavor Booster: From the humble burger to sophisticated gourmet plates, caramelized onions are an unparalleled flavor enhancer. They add a sophisticated, rich sweetness that can cut through richness, complement savory notes, and add a layer of umami. Think beyond just toppings – they can be a foundational flavor.
- Incredibly Versatile: Once you've mastered how to make easy caramelized onions, a world of culinary possibilities opens up. They are spectacular in dips, sandwiches, quiches, soups, and so much more. This versatility makes them an invaluable prep-ahead ingredient.
The Simple Ingredients for Sweet Success
Creating these golden gems begins with choosing the right components. While the list is short, each ingredient plays a crucial role in developing that signature sweet and savory profile.
- The Onions: Your Sweet Foundation
- Yellow Onions: These are your workhorse onions. They have a good balance of sweetness and sharpness, and their sugar content is ideal for caramelizing into a deep, rich flavor.
- Sweet Onions (Vidalia, Walla Walla): As their name suggests, these varieties boast a higher sugar content, leading to even sweeter caramelized results. They are an excellent choice if you're aiming for maximum sweetness.
- What to avoid? While red onions can be caramelized, they typically don't achieve the same deep sweetness or golden color as yellow or sweet onions due to their pigment and slightly different sugar profile. White onions are often too pungent and lack the sugar for ideal caramelization.
- The Fat: Your Browning Agent
- Olive Oil: A classic choice, olive oil provides a smooth base and contributes a subtle savory note that complements the onions' sweetness.
- Butter: For a richer, creamier flavor, butter is an excellent option. Be mindful of its lower smoke point; combining it with olive oil can offer the best of both worlds.
- Ghee: Clarified butter (ghee) is fantastic if you want the buttery flavor without the worry of burning milk solids. It has a higher smoke point than butter, making it ideal for longer cooking.
- Salt: The Flavor Enhancer
- A pinch of kosher salt (or sea salt) isn't just for seasoning; it helps draw out moisture from the onions, aiding in the cooking process and intensifying their natural flavors. Add it early in the cooking process for best results.
- Water or Bone Broth: The Secret to Jammy Perfection (Optional but Recommended)
- While not strictly necessary for the caramelization itself, a few splashes of water or broth serve multiple purposes. It helps to rehydrate the onions if they start to dry out, prevents sticking, and, most importantly, allows you to deglaze the pan. Deglazing means scraping up the "fond"—those flavorful browned bits stuck to the bottom of the pan—and incorporating them back into the onions, contributing to that coveted glossy, jammy finish and deeper flavor.
Mastering the Art of Easy Caramelized Onions
Patience is truly the key to unlocking the full potential of your onions. While there are methods claiming "fast" caramelization, the true magic happens when the process isn't rushed. Here's how to achieve perfectly sweet, golden, and jammy results every time:
Step-by-Step Guide to Perfectly Sweet Caramelization
- Prepare Your Onions: The way you slice your onions can impact their texture. For easy caramelized onions, aim for consistent slices, about 1/8 to 1/4 inch thick. This ensures they cook evenly. A mix of thin and slightly thicker slices can offer interesting textural variety, but uniformity prevents some pieces from burning while others remain undercooked.
- Heat the Pan and Add Fat: Choose a large, heavy-bottomed pan or Dutch oven. A larger surface area allows more onions to contact the heat, promoting even browning. Heat your chosen fat (olive oil, butter, or a combination) over medium heat until shimmering.
- Introduce the Onions and the Initial Sizzle: Add all your sliced onions to the hot pan. Stir them well to coat them thoroughly with the fat. Here's a pro tip: let the onions sit undisturbed for 2-3 minutes before stirring again. This allows one side to develop a beautiful initial browning, kickstarting the Maillard reaction. Sprinkle with a pinch of salt and give them another toss.
- Lower the Heat – Embrace the Slow Cook: Reduce the heat to medium-low, or even low if your stove runs hot. This is where patience comes in. Continue stirring every few minutes for the first 30 minutes. The goal is to gently soften and slowly brown the onions without burning them. If they seem to be sticking or browning too quickly, don't panic!
- The Deglazing Secret: As the onions cook down, you'll notice browned bits forming on the bottom of the pan – this is the flavorful "fond." If the onions start sticking or appear too dry, splash in a few tablespoons of water or broth. Use your spatula to scrape up all those lovely browned bits, incorporating them back into the onions. This not only prevents sticking but also enriches the flavor and contributes to that desirable jammy texture. Repeat this step as needed throughout the cooking process.
- Continue Cooking to Your Desired Sweetness and Color: Keep cooking, stirring, and deglazing for anywhere from 45 minutes to 1.5 hours, depending on the amount of onions and your desired result.
- For a lighter, sweeter caramelization, you might stop around the 45-minute mark.
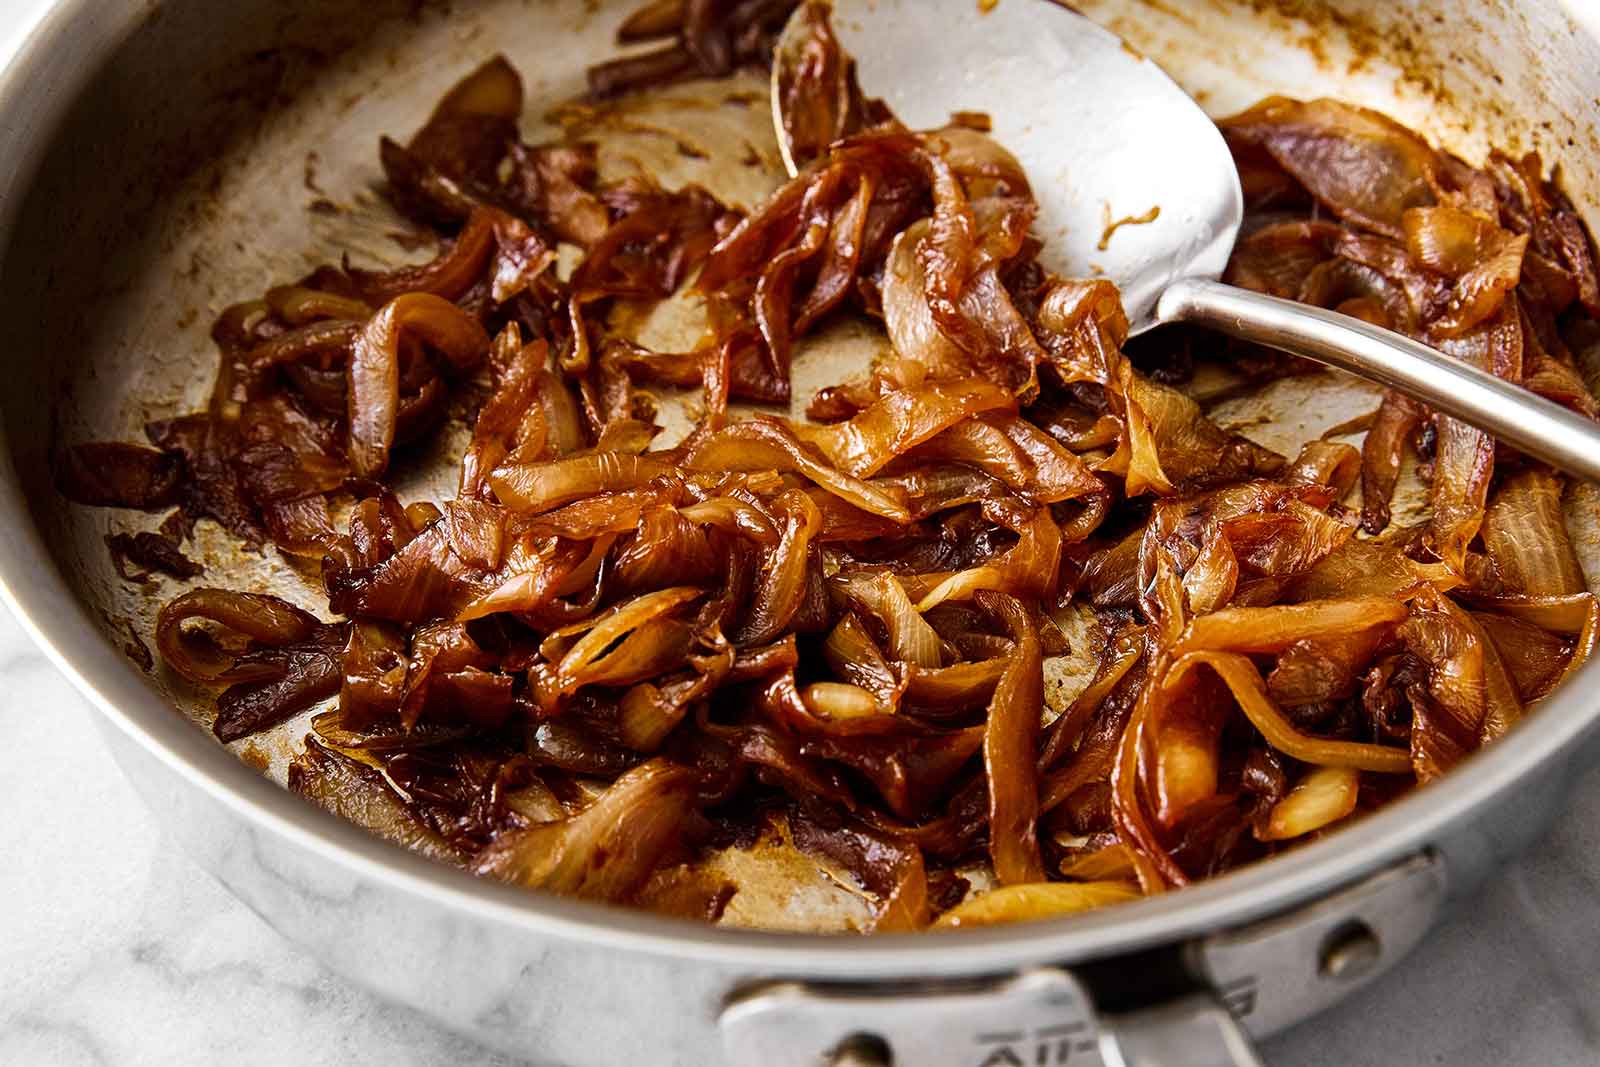
- For a deeper, richer, intensely sweet, and savory flavor with a dark golden-brown hue, continue for a full hour or more. The darker they get, the more concentrated their flavor becomes.
Remember, consistent (but not constant) stirring is key. Stirring too frequently will result in a more uniform color, while less frequent stirring allows for a delightful mix of darker and lighter caramelized bits, adding complexity.
Creative Ways to Enjoy Your Golden Goodness
Once you've mastered your batch of easy caramelized onions, the possibilities are endless:
- Burgers & Sandwiches: An absolute classic. They add gourmet flair and incredible depth to any patty or grilled cheese.
- Dips: The foundation of the best French onion dip you'll ever make.
- Pizzas & Flatbreads: A savory-sweet topping that pairs beautifully with cheeses like goat cheese or Gruyère.
- Soups & Stews: Stir them into beef stew, add them to a simple vegetable soup, or, of course, make authentic French Onion Soup.
- Eggs & Omelets: Fold them into scrambled eggs or use them as a filling for a sophisticated omelet or frittata.
- Meat Dishes: Serve alongside steak, pork chops, or roasted chicken for an instant upgrade.
- Pasta & Risotto: Incorporate them into a creamy pasta sauce or a rich risotto for umami and sweetness.
- Tarts & Quiches: They make a fantastic base or filling, especially with savory cheeses.
Storing Your Sweet Creation
One of the best things about easy caramelized onions is that they store wonderfully, making them an excellent ingredient for meal prep. Cook a large batch and keep them on hand to elevate meals throughout the week:
- Refrigeration: Store cooled caramelized onions in an airtight container in the refrigerator for up to 5-7 days.
- Freezing: For longer storage, spread cooled caramelized onions in a single layer on a parchment-lined baking sheet and freeze until solid. Once frozen, transfer them to a freezer-safe bag or container. They can be frozen for up to 3 months. Thaw in the refrigerator or add directly to hot dishes.
Troubleshooting & Advanced Tips for Perfect Caramelized Onions
- My Onions are Burning! This is usually a sign that your heat is too high. Reduce the temperature immediately and add a splash of water or broth to deglaze and cool the pan. Don't be afraid to pull the pan off the heat for a minute or two if necessary.
- My Onions Aren't Browning! Conversely, if your onions are just steaming and not taking on color, your heat might be too low, or you might be stirring too frequently without allowing any browning to occur. Increase the heat slightly and allow longer undisturbed periods.
- The Pan Choice Matters: A heavy-bottomed, wide pan (like a Dutch oven or a large sauté pan) is crucial. It distributes heat evenly and provides ample surface area for the onions to cook without crowding, promoting better caramelization.
- Don't Over-Crowd the Pan: If you're making a very large batch, consider cooking them in two separate pans or batches. Over-crowding can lead to steaming rather than browning.
- Patience, Not Pressure: While some "fast" methods exist (often involving baking soda to break down cell walls), they rarely achieve the same depth of flavor and jammy texture that true low-and-slow caramelization provides. Embrace the process; it's worth it!
Mastering how to make easy caramelized onions is a skill that will profoundly impact your cooking. This humble ingredient, when treated with a little patience and care, transforms into a powerful flavor enhancer, proving that the simplest components can indeed yield the biggest impact. So, grab a few onions, a good pan, and embark on this delicious journey. You'll quickly discover why these naturally sweet, golden-brown gems are considered a secret ingredient for culinary success. Start enhancing your dishes today and elevate any dish: easy caramelized onions for rich flavor will become your go-to kitchen hack!
